9 Maintenance Tips for Your First Pool Cue
Table of Content
You've played a few games with your first pool cue and are confident you chose well. As you continue familiarizing yourself with the game, you want to keep your cue intact for as long as you can.
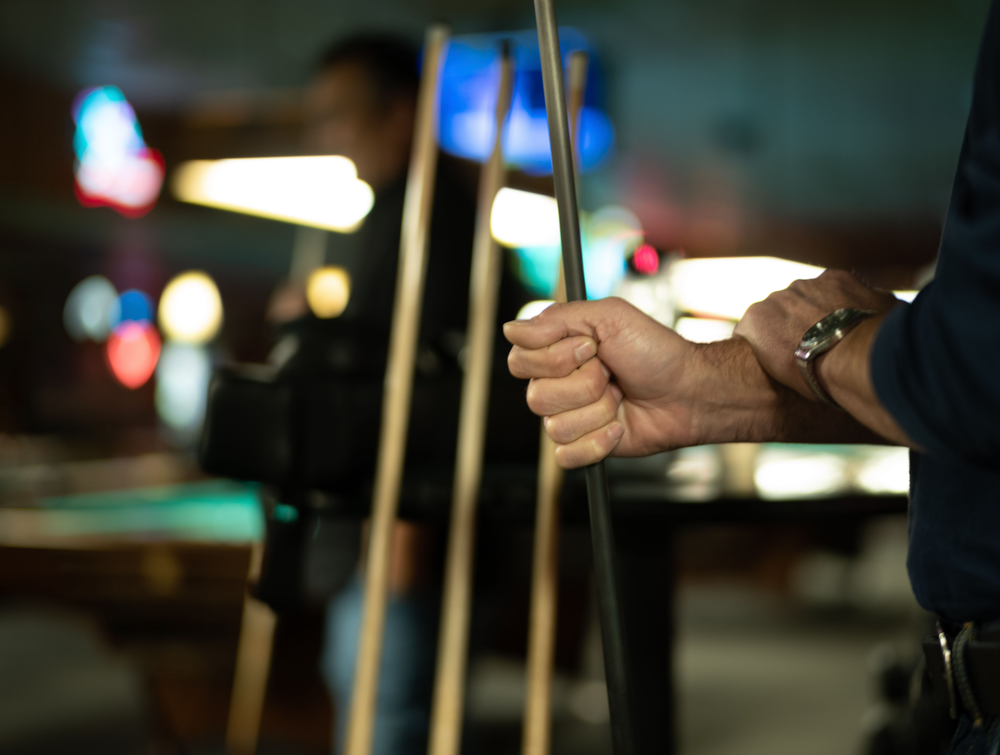
Building a cue maintenance checklist will allow your new cue to look and play like new, even if it's months old. Get your cue case and cleaning cloth out, as there's lots to review!
Tip #1: Keep It Clean
By far, the most important job on your to-do list is to maintain a clean cue. Ideally, you should give it a wipedown after every game, but the cue should still hold up well enough if you wipe it after every other game too.
There are so many viable products you could use for a cleaner cue, but the Longoni No Blue Shaft Cleaning Sponge is one many players swear by. Moisten the sponge, then clean the cue from top to bottom.
No specialized cue-cleaning sponge? No problem! You can use a damp cloth or damp towel on the cue shaft, side wall, and other components and get the roughly same effect.
The more old-school pool players swear by using a dollar bill for burnishing the stick. On the other hand, more modern players burnish the stick with leather. Burnishing is a common practice for wooden pool cues, keeping them straight and smooth.
Use a natural, soft leather, such as one from an old belt. Wrap the leather up around the base of the pool cue. The leather will warm up the cue and create a seal. Then, burnish the tip with an emery cloth.
Don't forget to conclude with cue wax for a greater shine and dirt repellence.
Tip #2: Avoid Using Sandpaper and Other Abrasives
Many players use sandpaper or other abrasive materials in an attempt to get rid of more stubborn stains on the cue.
This is a huge mistake and should be avoided except as a final resort. Not only does sanding your pool cue strip away the protective coat on its surface, making it more vulnerable to dirt and future damage, but it also subtly changes its taper and diameter.
Any change to the shape of the cue, even the slightest one, can visibly affect your performance.
Tip #3: Use a Joint Protector
Joint protectors are multipurpose. They prevent the butt from being exposed to excess moisture, which is especially valuable if the end is unfinished. Additionally, joint protectors will safeguard the shaft threads and joint pin.
The result? Your pool cue will be in playable shape for a longer time.
Tip #4: Learn How to Store Your Pool Cue
You should consider investing in a cue rack for holding pool cues when not in use. You can choose between freestanding and wall-mounted cue racks.
Those aren't your only options. Cue cases are another viable method for keeping your cues intact, plus you can use them for easy transport. Cue cases are available in several types: tube, soft, or hard.
Ultimately, it's your choice which pool cue storage solution you choose, based on your budget and the amount of space you have. However, your pool cue storage solution should achieve these objectives:
- Keep the pool cues perfectly straight.
- Avoid exposure to extreme temperatures and direct sunlight, which can cause warping.
- Alleviate joint stress to prolong the life of your cues.
- Safeguard from dust and damage.
The ideal temperature for cue storage is 70 degrees Fahrenheit, while the optimal humidity levels are between 40 and 50 percent.
Tip #5: Try a Cue Tip Shaper
Cue tips are one of the most important components of the stick. They directly touch the ball, so if they're not in optimal shape, it will be hard to dominate the pool table the way you're used to.
Here's a secret about cue tips: they play better when a little worn. There's no need to scramble to get a new tip, as the coarse texture will allow it to hold chalk.
Besides the texture, you should also concern yourself with its shape. Cue tips generally perform best when shaped convexly, but please read the cue manufacturer's recommendations on the shape of the tip and follow them.
What about moisture? It can affect the tip, but some tip materials absorb moisture better than others. For example, a leather cue tip should not hold as much moisture.
If the cue tip has warped from moisture exposure or is so thin it's about the width of a dime, it's time for a replacement.
Tip #6 - Rewrap the Butt on Occasion
No matter if you selected a leather wrap or Irish linen, hand sweat and surface dirt will eventually leave the wrap worse for wear. At that point, the wrap no longer provides an absorbent surface. Your hands can get slick and sweaty, sliding down the cue shaft too easily.
Consider changing the wrapping every six months or so, especially if you're beginning to lose grip when playing.
Tip #7 - Inspect the Cue Regularly
One of the most important elements of cue maintenance is studying the entire cue’ condition. While a graphite shaft and metal ferrule are designed to last for extended periods, misuse can still shorten their lifespans.
So, what exactly should you be looking for? Any signs of damage, such as a slight bend or angle in your cue, warping (a common malady if you have a wooden pool cue), and cracks or breakage.
Even dropping your pool cue on a hard floor once or twice is enough to bring it to an untimely end.
What if your cue is a goner? Some pool cue manufacturers offer repairs, but since yours is likely a low-cost beginner's cue, you're better off upgrading it to an intermediate-level stick.
Tip #8 - Learn the Proper Way to Apply Chalk to the Cue Tip
Here's another tip for the cue tip! Applying chalk to it is a common practice shared by everyone from new players to professionals. The extra friction on the chalk allows for tricky maneuvers, such as spin shots.
However, there's an art to properly applying chalk. If you use too much of it, you'll have chalk residue all over the place that you'll need to clean up with a paper towel afterward.
Less is more here, so watch your technique. Don't grind the chalk into the pool cue tip. Rub it instead, focusing on using the middle of the chalk.
Tip #9 - Know How to Treat Dents
If you play often enough, the cue shaft can eventually develop dents. Fortunately, this doesn't mean you need a new shaft. You just have to know how to remove dents.
If yours is a graphite shaft or made of any other material but wood, soak the cue in water so that the shaft is fully submerged. Boil some more water and pour it in gradually. The best way to do this is with a tea kettle, to easily control the flow of water.
The extra hot water induces steam, which reduces pressure by vaporizing the water. Once your cue dries, you should notice far less denting.
The Importance of Cue Maintenance
Building a pool cue maintenance routine made up of cleaning, sharpening, and inspecting the cue will keep your shaft and other components in an optimal, perfectly usable shape for a longer time.
You can leave the Super Glue behind for good, as you'll know how to keep the shaft (and the rest of the stick) smooth, slick, and ready to play with.


